In manufacturing, precision is paramount. Consider a new product design that requires meticulous assembly to ensure optimal performance. If components are not correctly aligned, the system may experience inefficiencies and potential failures. The challenge lies in finding ways to optimize part and product performance, which can lead to enhanced efficiency and improved overall performance. An innovative approach to product design and assembly could have the potential to give your company a competitive edge.
But how can you test part or product performance ideas?
Proof-of-principle (POP) studies, sometimes referred to as proof-of-concept studies, allow manufacturers to determine if a new concept or innovation theory can be successfully implemented. These studies can also allow companies to accelerate product development by incorporating design for manufacturability (DFM) practices early in the product development process to optimize for future automated production at scale.
Let’s Look at a Real Use Case for Proof-of-Principle Studies
A large turbocharger manufacturer was designing a turbo core that was equipped with a new bearing assembly. The wheel bearing needs to be preloaded correctly, which means tightening/loosening the nut holding the bearing to apply the correct tension. If the nut is too loose, there will be excess play and vibration, but if it’s too tight, then there will be higher friction, which will negatively influence the bearing’s lifespan. The product design team determined that to apply the proper preload, required that the impeller wheel of the core be stretched the width of two human hairs when it was torqued to the sub-assembly. If this improvement could be accomplished, it would yield a more efficient core and, in turn, provide a more fuel-efficient engine. This new design would be a differentiator in the market.
To understand the magnitude of the problem, we first need to recognize how small is the width of two human hairs?
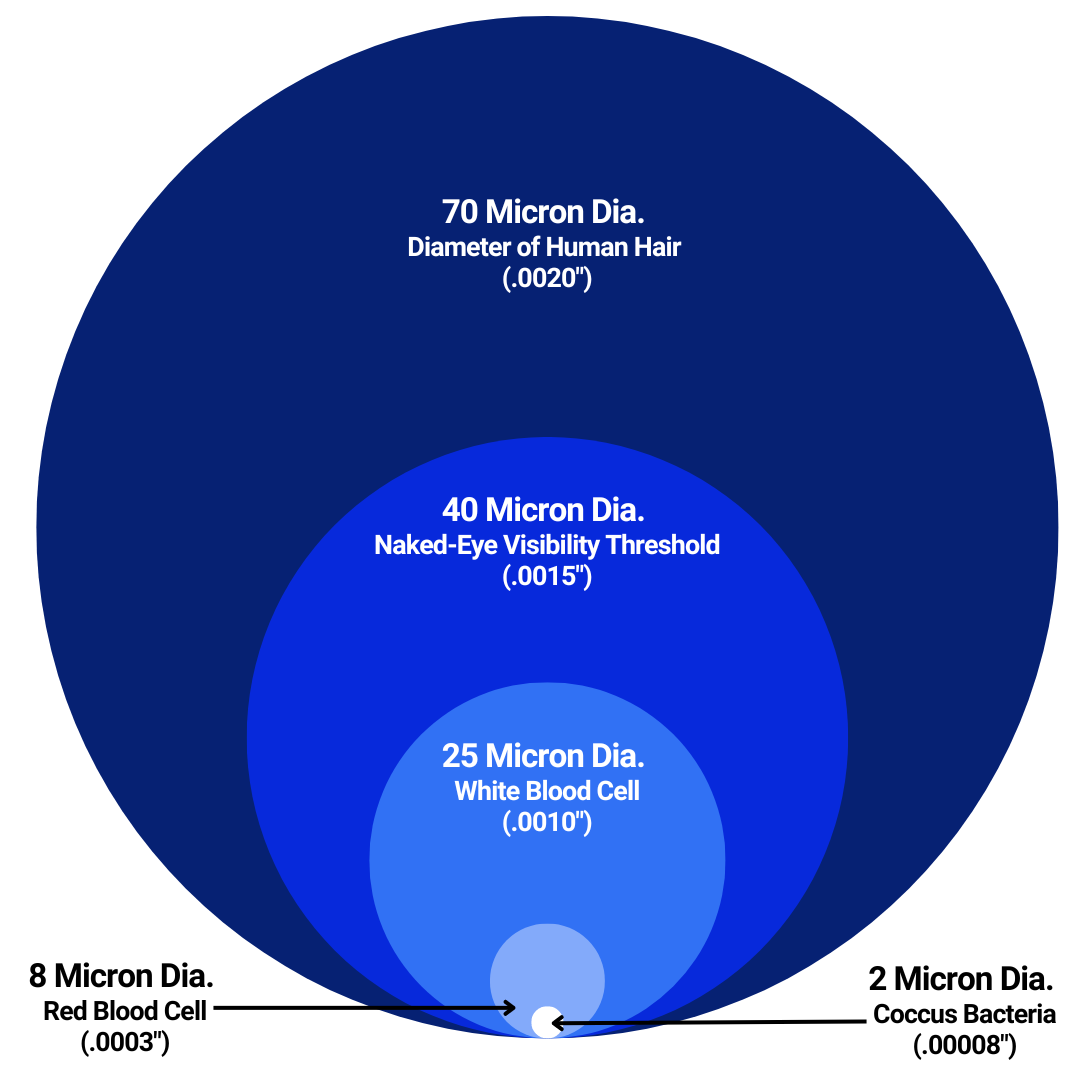
One millimeter is one-thousandth of a meter. One micrometer (micron) is one-millionth of a meter or one-thousandth of a millimeter. The size of 0.140 mm (140 microns) is comparable to the width of two human hairs.
This implies that the measurement system needs to be able to travel 140 microns accurately. The problem is even more complicated because even if one could measure accurately in the 140-micron range, the other requirement was to be within +/- 5 microns of the target.
How can we build a system that could achieve this? From the image above, this would mean the system would travel two human hairs with a tolerance width of a red blood cell.
The automotive part manufacturer had reached out to many automation providers to solve this problem. Unfortunately, they had no success. Some vendors said they could do this work but provided concepts that had margins of error greater than 1 mm (or not even committing to a tolerance). ATS Industrial Automation recognized that this was a difficult challenge and recommended a POP study be conducted.
Why Perform a Proof-Of-Principle Study?
A POP study is an examination of the problem using the essential instrumentation items that can justify a design or concept. In other words, it answers the question, “why do we believe this can be done?” Engineers can identify potential challenges, validate assumptions, and assess the feasibility of a solution. If the solution is not achievable in a POP study, then alternate solutions must be identified or invented.
Benefits of Proof-Of-Principle Testing
There are many benefits of performing a POP study. By making a small investment, manufacturers can mitigate big risks.
The findings of a POP study will help drive:
- The design for the final equipment.
- Identification of factors affecting results.
- Estimation of part-to-part cycle time (determining if one or more machines meet throughput)
- Production scale-up concepts.
The stakeholders of a successful POP study will obtain scientific justification to spend money on capital equipment with a machine design that has a high probability of working, even though it may be first-of-a-kind.
What Happened with the Turbocharger in the POP Study?
Once the turbocharger company approved the POP study, the ATS team designed a machine concept.
The Proof-of-Principle Study Problem Statement:
“How to accurately torque the nut on the turbo core to stretch it by 140 microns?”
“Can an automated station be built to go onto an assembly line to do this stretch process?”
“How do we prevent side loading when torquing the nut?”
“How do we control environmental factors to get the required repeatability?
“How can the POP testing be set up so proximity to the system vibration does not impact measurements?”
Engineering Toolbox
A POP study cannot be properly executed if the tools used for the experiment are not well-defined. For example, measuring a length using a ruler versus a precision caliper can yield different results. This POP study required mechanical design elements, electrical interfaces and software control to collect meaningful data.
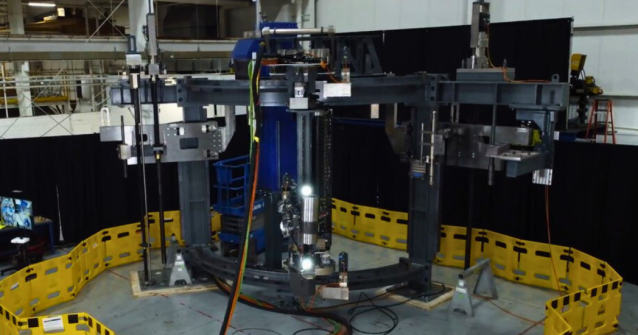
From a mechanical standpoint, the system needed a structure that would not be affected by vibrations. The fixture also needed to account for alignment issues, and coupling to the part should not add additional load to the part. Furthermore, the part under test needed to be suspended to isolate it from further vibrations.
The mechanical design and toolmakers created a custom fixture to provide a stable platform to hold the part. On the electrical side, the data acquisition hardware, relays, sensors, and servo motor need to be designed in and wired into the machine.
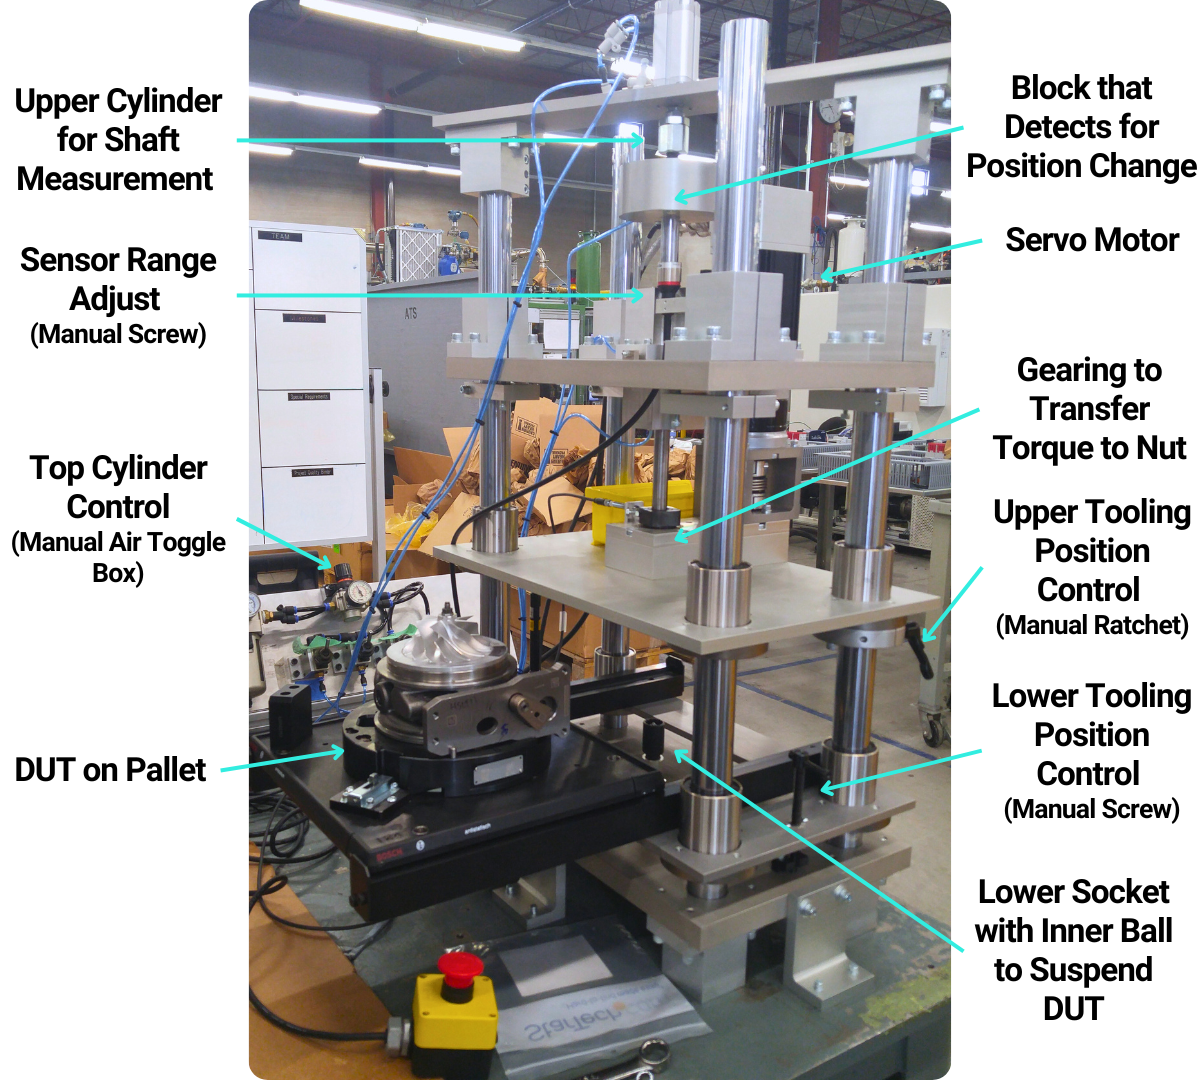
In addition, even for a POP study, a safety circuit was designed to allow for the safe operation of the machine. Measurement of signals needed to follow best practices such as proper cable shielding and grounding.
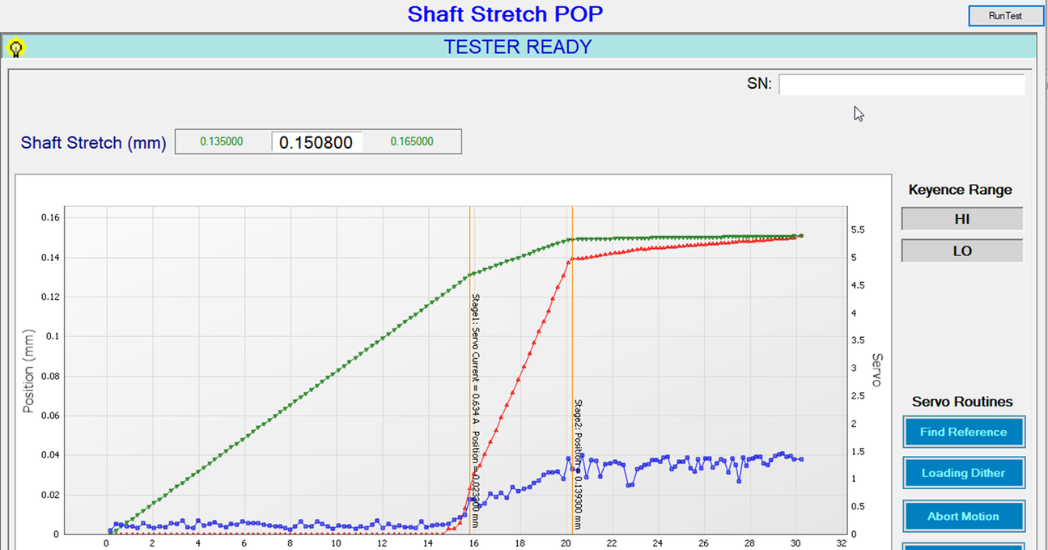
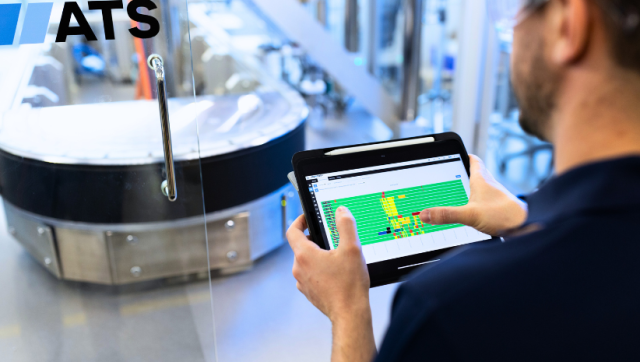
Software is also a required prerequisite for a successful POP study. ATS has developed software known as the ATS Test Executive Suite, which is a robust, flexible tool designed for rapid application development. It has a library of tools to accommodate a variety of hardware interfaces and built-in routines for process control. ATS Test Executive Suite was configured for this application to collect multiple sensor data at a high sample rate, synchronized in the time domain while managing servo control.
After the data collection, it required some normalization and analysis to find meaningful transitions. The POP study required the software to be adaptable to changing test procedures based on findings. Using the ATS Test Executive Suite allowed changes to be made promptly.
Initial Proof-of-Principle Study Design
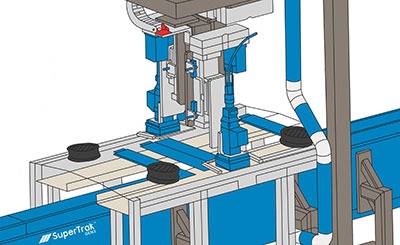
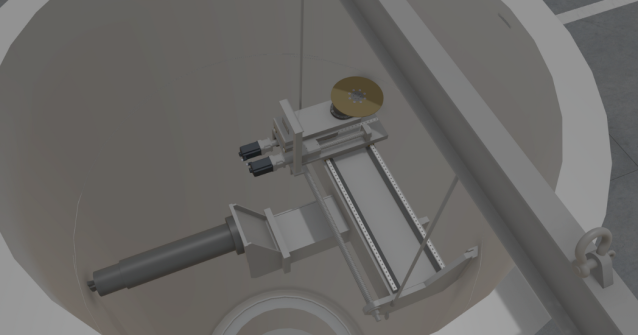
The turbo core would be suspended in the air above the conveyor, and both upper/lower tooling would engage. This is to ensure there is no side load applied to the turbo core and that vibrations from other equipment (like the conveyor) are not influencing the measurement. In addition, the nut tightening servo is centered when the part is lifted from the pallet. The lower tooling is comprised of a fixed socket to hold one end of the wheel. The upper tooling is comprised of a high-accuracy servo motor and torque transducer.
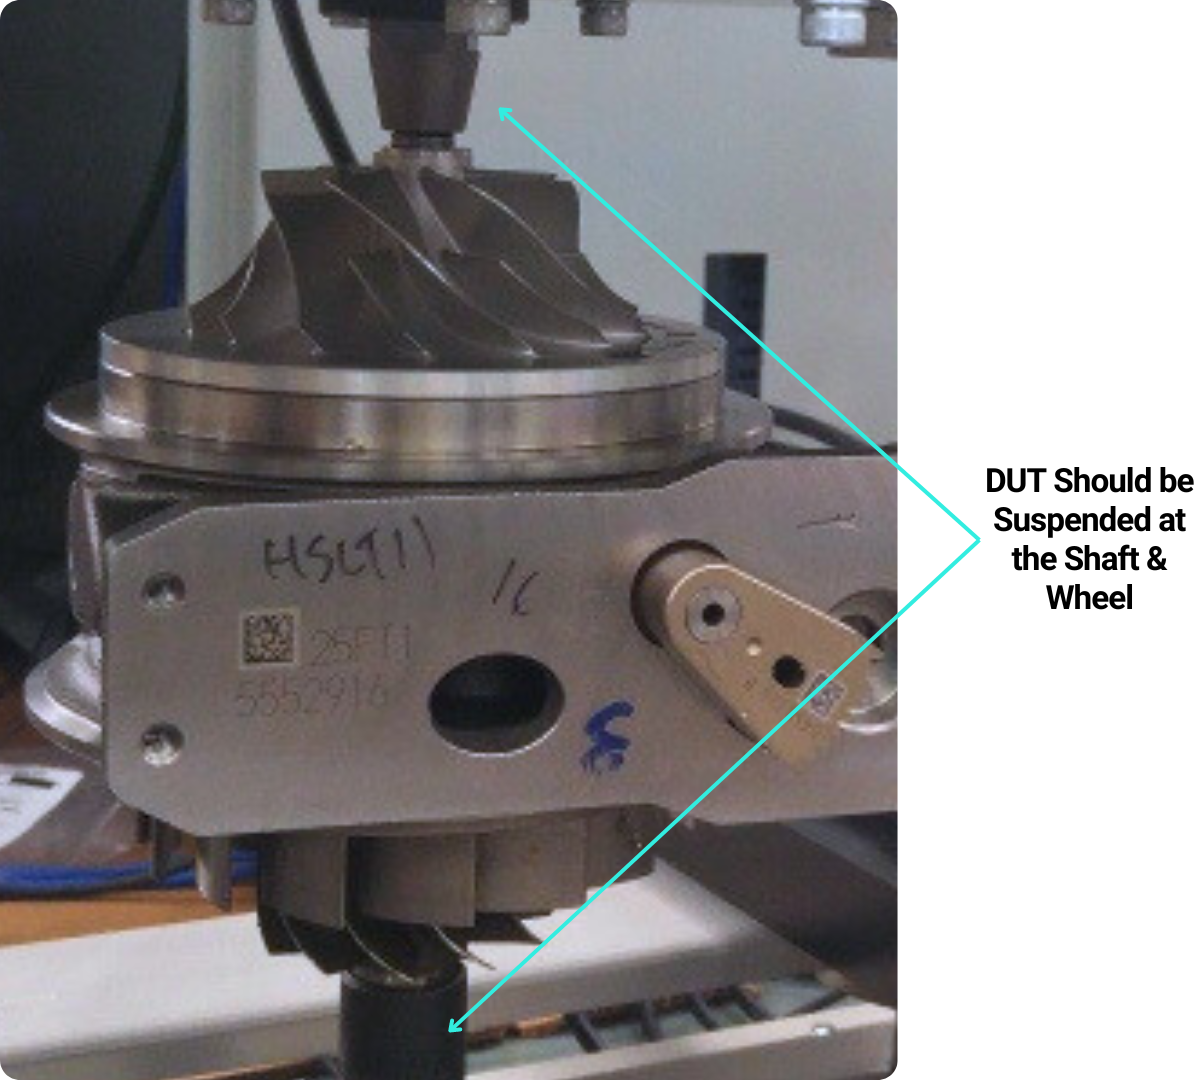
The torque measurement system would tighten the nut to a known torque. By knowing the pitch of the shaft, and number of turns required to tighten, the desired stretch would occur when the torque of the nut was achieved.
This concept had repeatability issues. The team found that it was difficult to correlate the number of turns to the amount of travel in the vertical direction. The torque amount would change based on the thread quality of the shaft and the sensitivity of the torque transducer.
A Secondary Design was Implemented
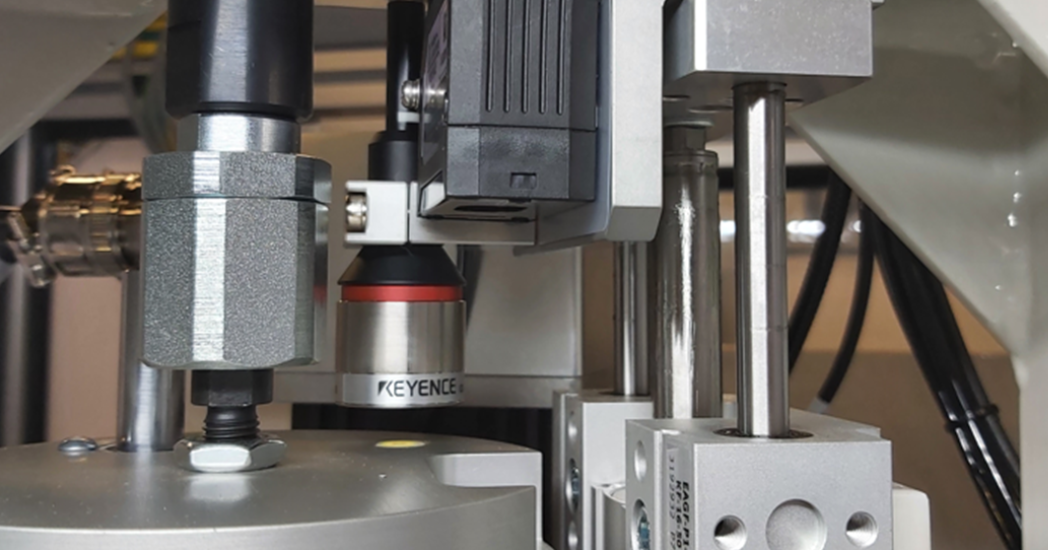
Rather than using a torque measurement in the horizontal direction, a high accuracy laser was mounted to the upper tooling to determine the length of the shaft. By controlling the servo to move based on the laser position in closed-loop control (PID), it can automatically stop at the desired displacement change. This design showed promising results and was able to achieve the desired measurement and tolerance.
Analyzing the data collected from the ATS Test Executive Suite, it could be determined the optimal clamp speed of the servo, the amount of torque applied to the part, the vertical displacement for the stretch, and the cycle time of the operation.
Turbocharger Proof-of-Principle Study Results
The findings of the proof-of-principle study were presented to the customer. The POP system delivered promising results that justified the need for custom fixturing and instrumentation selection.
The ATS Test Executive Software packaged all the design considerations together so that there was data to justify a machine of this nature to be built. Overall, the customer was happy with the outcome of the POP study. Prototyping a micron-level measurement system designed for the customer product was an impressive feat.
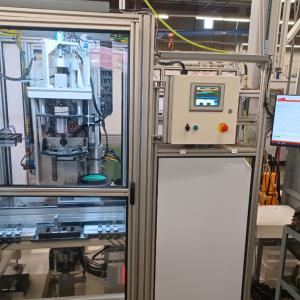
This first-of-a-kind solution demonstrates ATS Industrial Automation’s ability to combine fixturing mechanical know-how, as well as software controls and electrical measurement instrumentation designs. Following these findings, the automotive manufacturer gave ATS an order to build four machines that are currently situated around the world producing the next generation turbo core.
Every project is unique. Allow us to listen to your challenges and share how proof of principle testing can launch your project on time.

Jules Lam, M.Eng
Group Lead, Software Engineering
ATS Industrial Automation
Jules is a Test and Measurement expert with 22+ years of experience in Software Engineering. He develops testing solutions across various industries typically around challenges arising from data acquisition, signal processing, bus communications, time synchronization, and system control.


